Running ntopng from Source on Raspberry Pi 5 (ARM64)
Date: June 4th, 2025
Category: Network/Security
Backlink: LibreNMS Docker Deployment on Raspberry Pi 5
Overview
This guide details how I installed and configured the open-source network traffic monitor ntopng on my Raspberry Pi 5 (ARM64). The goal was to gain full LAN visibility using packet inspection via the Pi’s wireless interface. LibreNMS is already in place for SNMP-based metrics, and ntopng complements it by showing real-time traffic flows and bandwidth usage.
Why Build from Source?
The official Docker images for ntop/ntopng were built for amd64, which is incompatible with the Pi 5's arm64 architecture. Since no prebuilt stable ARM image was available, I opted to build ntopng from source.
Install Prerequisites
sudo apt update && sudo apt upgrade -y
sudo apt install -y \
  build-essential cmake libtool autoconf automake pkg-config \
  libzmq3-dev libsqlite3-dev libhiredis-dev libmaxminddb-dev \
  libpcap-dev libcurl4-openssl-dev libssl-dev libnghttp2-dev \
  libmariadb-dev-compat libmariadb-dev libnats-dev libcap-dev \
  redis git
Clone and Build nDPI
cd ~
git clone https://github.com/ntop/nDPI.git
cd nDPI
./autogen.sh
make
Clone and Build ntopng
cd ~
git clone https://github.com/ntop/ntopng.git
cd ntopng
./configure
make
sudo make install
Create Systemd Service File
# /etc/systemd/system/ntopng.service

[Unit]
Description=NtopNG Community Edition (custom build)
After=network.target

[Service]
ExecStart=/usr/local/bin/ntopng --dont-change-user --interface=wlan0 --http-port=3000
WorkingDirectory=/var/lib/ntopng
User=root
Restart=on-failure

[Install]
WantedBy=multi-user.target
Enable and Start Service
sudo mkdir -p /var/lib/ntopng
sudo systemctl daemon-reload
sudo systemctl enable ntopng
sudo systemctl start ntopng
Web Access
-
Open your browser to:
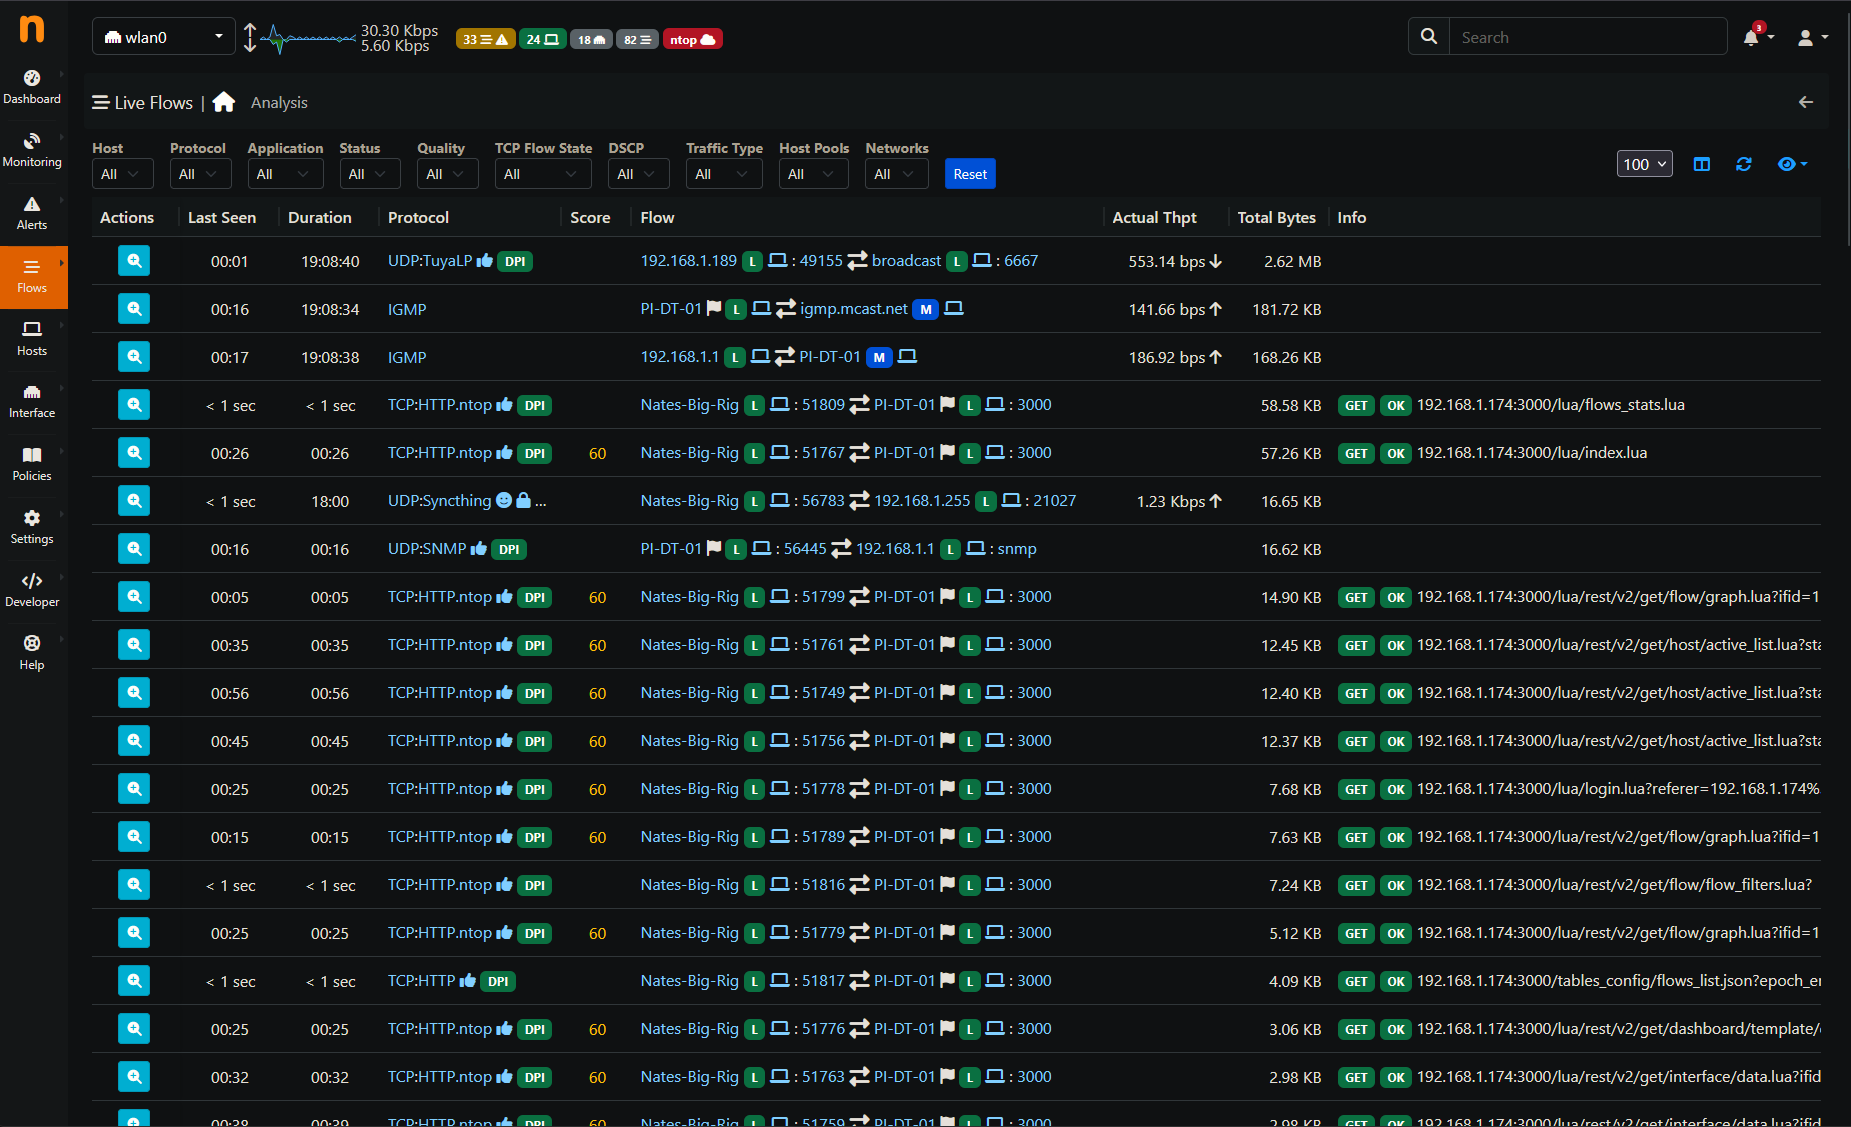
http://<Pi5-IP>:3000
In my case:http://192.168.1.174:3000
If the page doesn’t load, check:
sudo systemctl status ntopng
sudo journalctl -u ntopng --no-pager